E-Signature Status Tracking Tutorial: How to Monitor Every Document Stage in QuickSign
Master e-signature status tracking in QuickSign with this step-by-step tutorial. Learn to monitor every document stage in real time for full control.
E-Signature Status Tracking Tutorial: How to Monitor Every Document Stage in QuickSign
Why E-Signature Status Tracking Matters
When you send a contract for signature and then wait in the dark, business slows down. You don’t know if the client opened it, who’s blocking the deal, or when to follow up. Modern e-signature tools have solved this with real-time status tracking and audit trails, giving you visibility into every step of the signing journey. (thanksroger.com)
QuickSign is built around this idea: not just collecting signatures, but helping you clearly see who has signed, who is pending, and what to do next. Its dashboard shows when documents are sent, opened, viewed, signed, and completed, with live updates and a built-in activity history. (quicksign.it)
Key idea: Effective e-signature status tracking turns every contract into a transparent workflow instead of a black box.
In this tutorial, you’ll learn—step by step—how to use the status tracking and workflow tools in QuickSign to manage your agreements from draft to final signature.
What You’ll Learn
By the end of this guide, you’ll be able to:
- Generate a contract with AI inside QuickSign.
- Place signature fields with drag-and-drop and send in under 60 seconds.
- Track live status
for each signer (sent, viewed, signed, completed).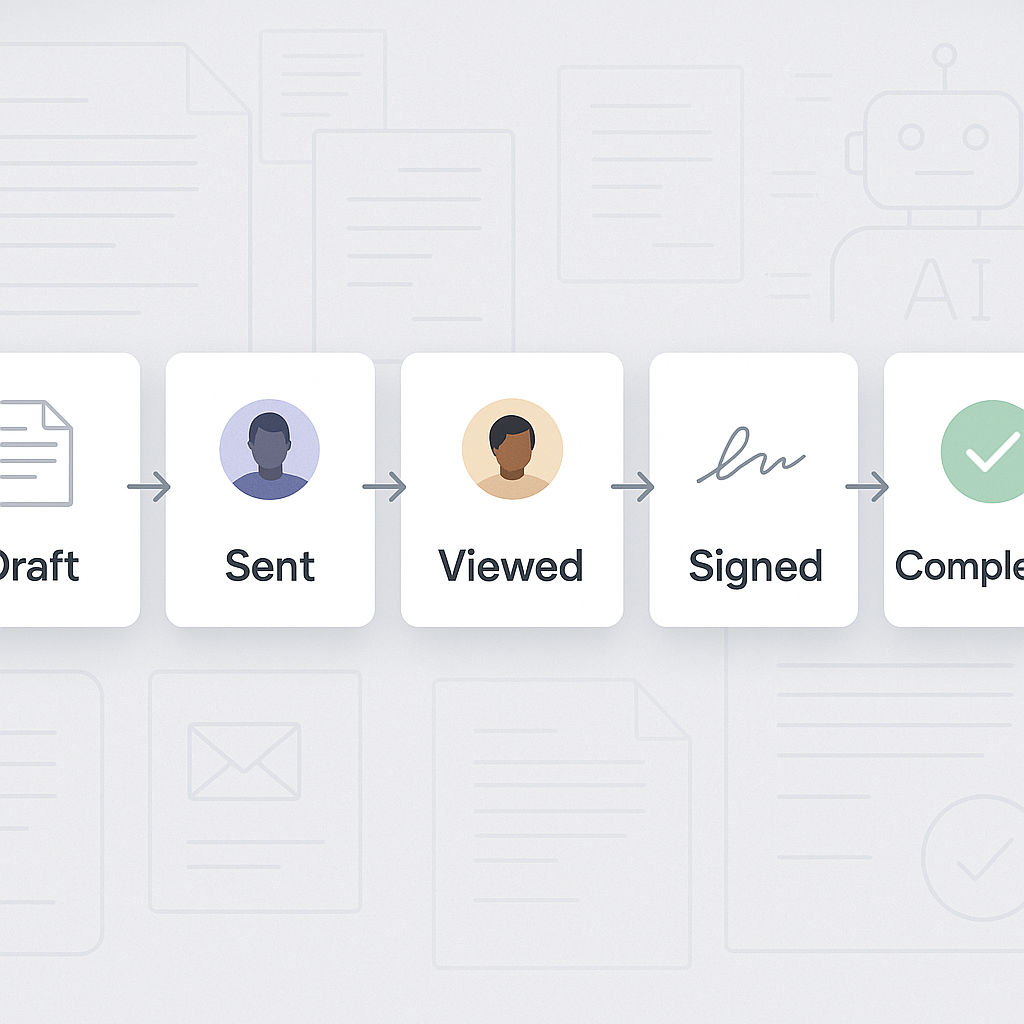
- Use reminders and activity logs to remove bottlenecks.
- Understand basic audit-trail concepts for compliance and risk reduction. (quicksign.it)
What You’ll Need
- A QuickSign account (free to start at https://quicksign.it).
- Either:
- An existing PDF/Word contract, or
- A brief description of the agreement you want to generate with AI.
- Names and email addresses for all recipients.
- Estimated setup time: under 60 seconds to prepare and send your first trackable document in QuickSign.
Step 1: Create or Upload a Document in QuickSign
Option A: Generate a Trackable Contract with AI
One of the standout features of QuickSign is AI Document Generation. Instead of hunting for a template, you can describe what you need and let QuickSign draft a professional contract, NDA, or agreement for you. (quicksign.it)
- Log in to your QuickSign account.
- On the main dashboard, click the “Generate Document” button.
- Choose a document type (e.g., Service Agreement, NDA, Freelance Contract).
- In the AI prompt box, type a description such as:
- “Create a one-page consulting agreement between ACME Corp and Jane Doe for marketing services, monthly retainer $3,000, 30-day termination clause.”
- Click “Generate with AI”.
- Review the draft and adjust details (payment terms, dates, scope) directly in the editor.
- Click “Save & Continue to Signing Setup”.
Pro tip: Use the free tier to generate up to 2 documents with AI before you commit to a paid plan—ideal for testing different contract types. (quicksign.it)
Option B: Upload an Existing PDF or Word File
If you already have a finalized contract, status tracking still works exactly the same in QuickSign.
- From the dashboard, click “Upload Document”.
- Drag and drop your PDF or Word file into the upload area or click “Browse Files”.
- Wait for the upload progress bar to reach 100%.
- Click “Prepare for Signing” to open the drag-and-drop field editor.
Step 2: Add Recipients and Configure Signing Order
Status tracking only works if QuickSign knows who should sign and in what sequence. Setting this up also makes it possible to see which person is currently blocking the workflow. (esignly.com)
- On the Recipients screen, click “Add Recipient”.
- For each signer, fill in:
- Name
- Email Address
- Role (e.g., Client, Vendor, Internal Approver, Witness)
- To define a specific order (e.g., internal approval before client signature), toggle “Enable Signing Order”:
- Drag recipients into the correct sequence (1, 2, 3...).
- QuickSign will only notify the next person when the current one has signed.
- Optionally, set:
- Signer authentication (e.g., email-only or additional checks if enabled in your plan).
- Message to recipients – this appears in the invitation email.
- Click “Next: Add Fields”.
Pro tip: Clear signing order makes your status tracking “readable.” You’ll immediately see whether the holdup is with legal, finance, or the customer.
Step 3: Place Signature and Form Fields with Drag-and-Drop
Now you’ll tell QuickSign exactly where each signer needs to take action. This not only guides recipients but also ensures that the document can’t be marked as “Completed” until all required fields are filled, which is critical for auditability and legal enforceability. (cm.com)
- In the Field Editor, select a signer from the recipient list (usually represented by colored labels, e.g., “Client – Blue”).
- From the left-hand toolbar, drag fields onto the document:
- Signature
- Initials
- Date
- Text (for job titles, company names, etc.)
- Position each field precisely where it should appear (e.g., “Sign here” line, date line).
- Repeat for each recipient:
- Switch to the next signer in the recipients panel.
- Drag and drop their required fields in a different color.
- Mark essential fields as “Required” so QuickSign won’t allow completion until they’re filled.
- Click “Save & Review”.
Pro tip: Save frequently used layouts as QuickSign templates so all your fields and tracking rules are preconfigured for future documents. (quicksign.it)
Step 4: Send the Document and Start Real-Time Tracking
This is where QuickSign’s streamlined sending and status tracking really start working for you. Instead of manually emailing PDFs and guessing what happened next, everything is coordinated and monitored from a central dashboard. (quicksign.it)
- On the Review & Send screen, double-check:
- Recipient emails
- Signing order
- Subject line and message
- Click the “Send for Signature” button.
- You’ll be redirected (or can navigate) to the “Documents” or “Contracts” tab in your QuickSign dashboard.
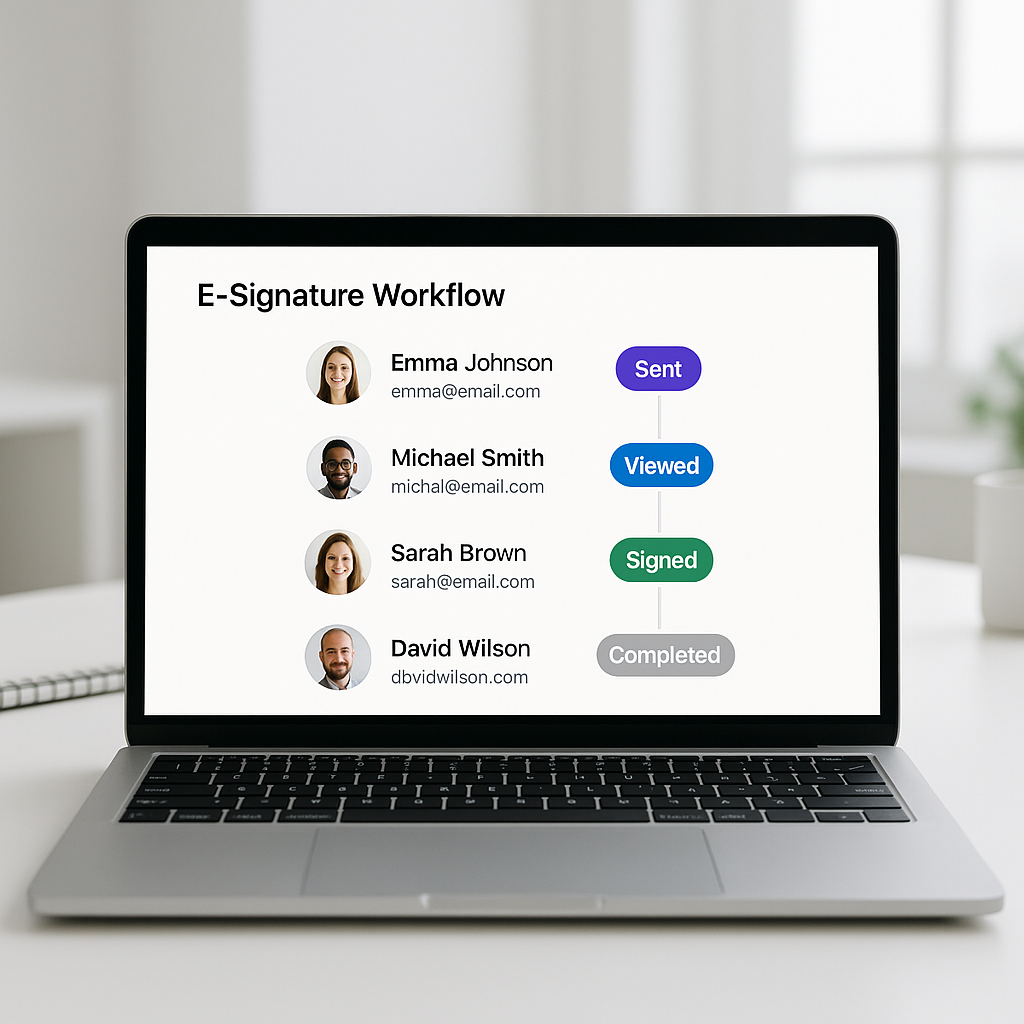
- Here you’ll see a list view with key status indicators, such as:
- Sent – invitations have been emailed to the first signer(s).
- Viewed – a signer has opened the document link.
- Partially Signed – at least one signer has completed their fields.
- Completed – all required signatures are collected and the document is finalized.
Unlike traditional per-seat solutions, QuickSign offers flat-rate pricing (starting around the cost of a simple SaaS subscription) and a generous free tier, so you can track an unlimited number of recipients on your first document without worrying about user licenses. (quicksign.it)
Step 5: Use the QuickSign Status Dashboard Effectively
Most of the value in e-signature tracking comes from how you use the dashboard day to day—especially for sales, HR, and operations teams managing dozens of agreements concurrently. (esignly.com)
Understanding the Status List
In the main Documents view of QuickSign, each row typically shows:
- Document Name (e.g., “Service Agreement – ACME – Dec 2025”).
- Current Status (e.g., Draft, Sent, Viewed, Signed, Completed, Expired).
- Last Activity timestamp (e.g., “Viewed by Sarah Johnson – Dec 17, 2025, 10:42 AM”). (quicksign.it)
- Recipients with visual indicators for progress (e.g., colored dots or icons).
Clicking into a document opens the detailed status view.
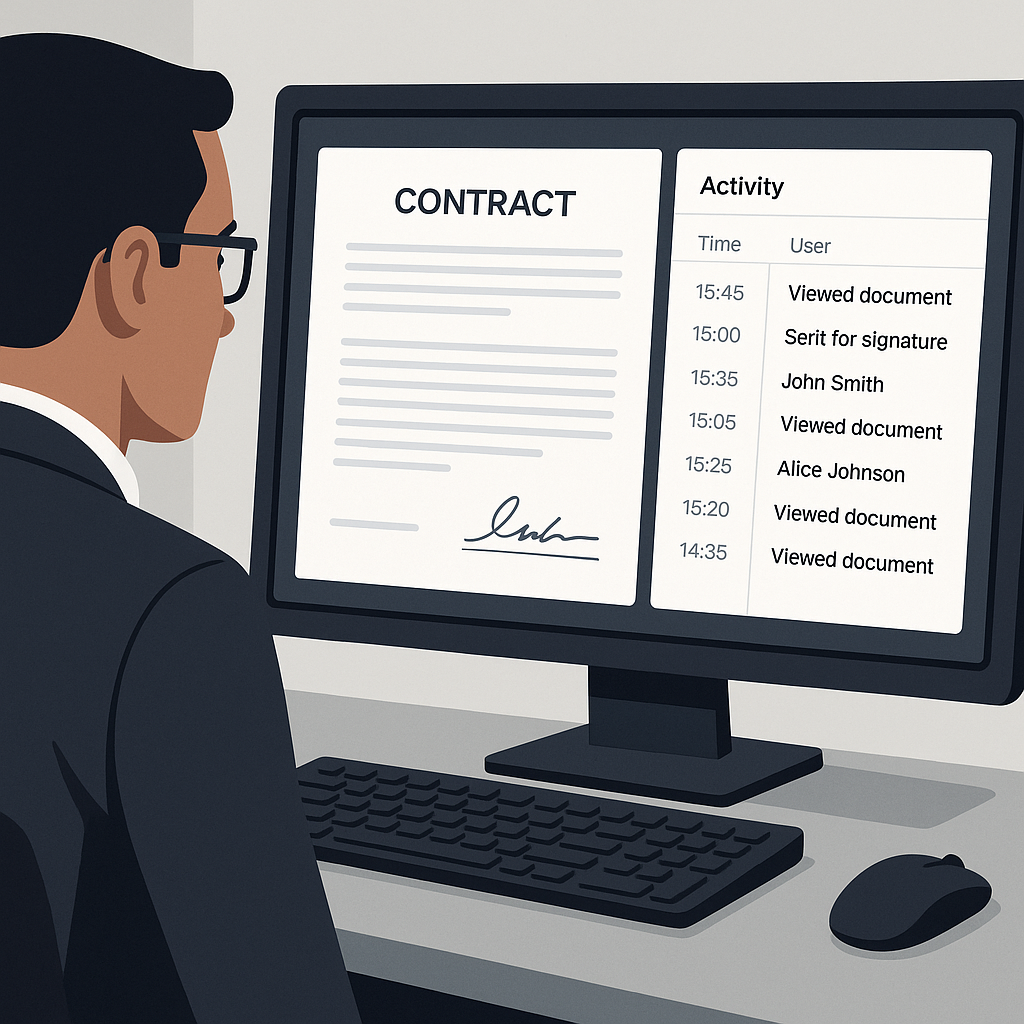
Reading the Activity Timeline
Inside a specific document in QuickSign, you’ll see an activity log or timeline similar to:
- Dec 16, 8:22 AM – Signing completed. All parties have signed.
- Dec 16, 8:15 AM – Signed by Bob T.
- Dec 16, 7:52 AM – Viewed by Bob T. (quicksign.it)
This audit-style record provides:
- Compliance evidence: who did what, and when. (acronis.com)
- Operational clarity: exactly where the process stalled.
- Follow-up pointers: who you should call or email next.
Key takeaway: Treat the activity timeline as your “source of truth” in disputes or internal questions about when a document was sent, opened, or signed.
Step 6: Automate Follow-Ups with Reminders
One of the most reported benefits of e-signature platforms is faster turnaround—often cutting signing cycles from days to hours—thanks partly to smart reminders and automated follow-ups. (thanksroger.com)
- Open a specific document in QuickSign.
- Scroll to the Recipients section.
- Locate any signer marked as “Pending” or “Viewed – Not Signed”.
- Click “Send Reminder” next to their name.
- Optionally edit the reminder message (e.g., “Hi Sarah, just a quick reminder to sign the service agreement so we can start next week.”).
- Click “Send”.
Depending on your plan and settings, QuickSign can also send automatic reminders after a configurable delay (e.g., 3, 7, or 14 days) to signers who haven’t completed the document. (quicksign.it)
Pro tip: For sales teams, schedule a reminder cadence that aligns with your average deal cycle—for example, an initial reminder after 24 hours and a second reminder after 3 days.
Step 7: Download Completed Documents and Audit Trails
Once all parties sign, QuickSign marks the document as Completed and locks in the activity history. This is where status tracking transitions into long-term record-keeping and risk management. (cm.com)
- In your Documents list, filter by Status: Completed.
- Click the document you want to archive.
- Use the “Download” button to:
- Download the signed PDF.
- (If available) Download a separate audit trail or certificate of completion that summarizes:
- Names and emails of all signers.
- IP addresses and timestamps of key events.
- A hash or checksum verifying document integrity.
- Store this file in your DMS, CRM, or accounting system as needed.
Most e-sign regulations (such as ESIGN in the U.S. and eIDAS in the EU) consider this combination of signed file + audit trail strong evidence in case of disputes. (acronis.com)
Step 8: Analyze Your Document Workflow for Continuous Improvement
Over time, the value of QuickSign’s tracking features compounds: you get a historical view of how fast agreements move through your organization and where they get stuck.
Use Filters and Search
From your QuickSign dashboard, use search and filters such as:
- Status: Draft, Sent, Viewed, Partially Signed, Completed, Expired.
- Date range: This week, this month, last quarter.
- Owner or Team member: See who owns which documents if you’re on a team plan. (quicksign.it)
This allows you to answer questions like:
- “What percentage of proposals are signed within 3 days?”
- “Which departments cause the most internal approval delays?”
- “How many contracts are currently stuck in ‘Viewed – Not Signed’?”
Optimize Templates and Processes
If you notice recurring issues—for example, clients often hesitate at a particular clause—you can adjust your AI-generated templates in QuickSign to simplify language, split steps, or add explanations.
- Go to the Templates or AI Documents section.
- Open a frequently used contract.
- Refine the text (e.g., payment terms, cancellation policies) based on feedback.
- Save as an updated template so all future workflows benefit from the improvement.
Key idea: Status tracking is not just operational; it’s strategic data that can shorten your sales cycles, reduce legal friction, and improve customer experience. (thanksroger.com)
Real-World Workflow Example with QuickSign
Here’s how a small marketing agency might use QuickSign to manage a client contract:
- Draft – The account manager clicks “Generate Document”, describes a 6‑month retainer agreement, and lets AI build the first draft.
- Review – They adjust pricing and scope, then save.
- Setup – They add the agency director (internal signer) and the client CMO as recipients with a signing order.
- Field placement – They drag-and-drop signature and date fields for both signers.
- Send – With one click, invitations go out, and the document appears in the dashboard as Sent.
- Track – Within an hour, the status updates to:
- Viewed by Director
- Signed by Director
- Viewed by Client CMO
- Remind – After two days stuck on “Viewed,” the AM clicks “Send Reminder” to the CMO.
- Complete – The CMO signs; QuickSign marks the document Completed and emails copies to both parties.
- Archive – The signed PDF and audit report are downloaded and attached to the client’s CRM record.
This entire process—drafting, sending, tracking, and completing—can be repeated for every new client without additional per-seat costs, thanks to QuickSign’s flat-rate pricing and team-friendly design. (quicksign.it)
Supporting Video Tutorials (General E-Sign Concepts)
While this article focuses on QuickSign, you might find it helpful to watch general e-signature tutorials to understand how electronic signatures and status tracking work conceptually. These videos use other tools as examples but the core ideas—sending, signing, tracking—are similar to QuickSign’s workflow.
Quick Summary: E-Signature Status Tracking in QuickSign
- Step 1: Log in to QuickSign and either Generate Document with AI or Upload a PDF/Word file.
- Step 2: Add recipients, set their roles, and configure signing order if needed.
- Step 3: Use drag-and-drop field placement to add signatures, dates, and text fields for each signer.
- Step 4: Click “Send for Signature”. QuickSign starts tracking status instantly—Sent, Viewed, Signed, Completed.
- Step 5: Monitor progress in the Documents dashboard and use each document’s activity timeline for detailed audit history.
- Step 6: Trigger manual or automatic reminders to signers stuck in “Viewed – Not Signed.”
- Step 7: When all parties have signed, download the final signed document and (if available) audit trail for compliance and record-keeping.
- Step 8: Use filters, templates, and AI generation in QuickSign to continuously optimize your document workflows.
Ready to simplify your document signing? Try QuickSign for free - generate 2 documents and send 1 document to unlimited recipients at no cost. No credit card required.