How to Create Legal Documents with AI Prompts (and Send Them for Signature) Using QuickSign
Create legal documents with AI prompts in minutes. Learn to draft, customize, and send contracts for e-signature using QuickSign—fast, secure, and easy.
How to Create Legal Documents with AI Prompts (and Send Them for Signature) Using QuickSign
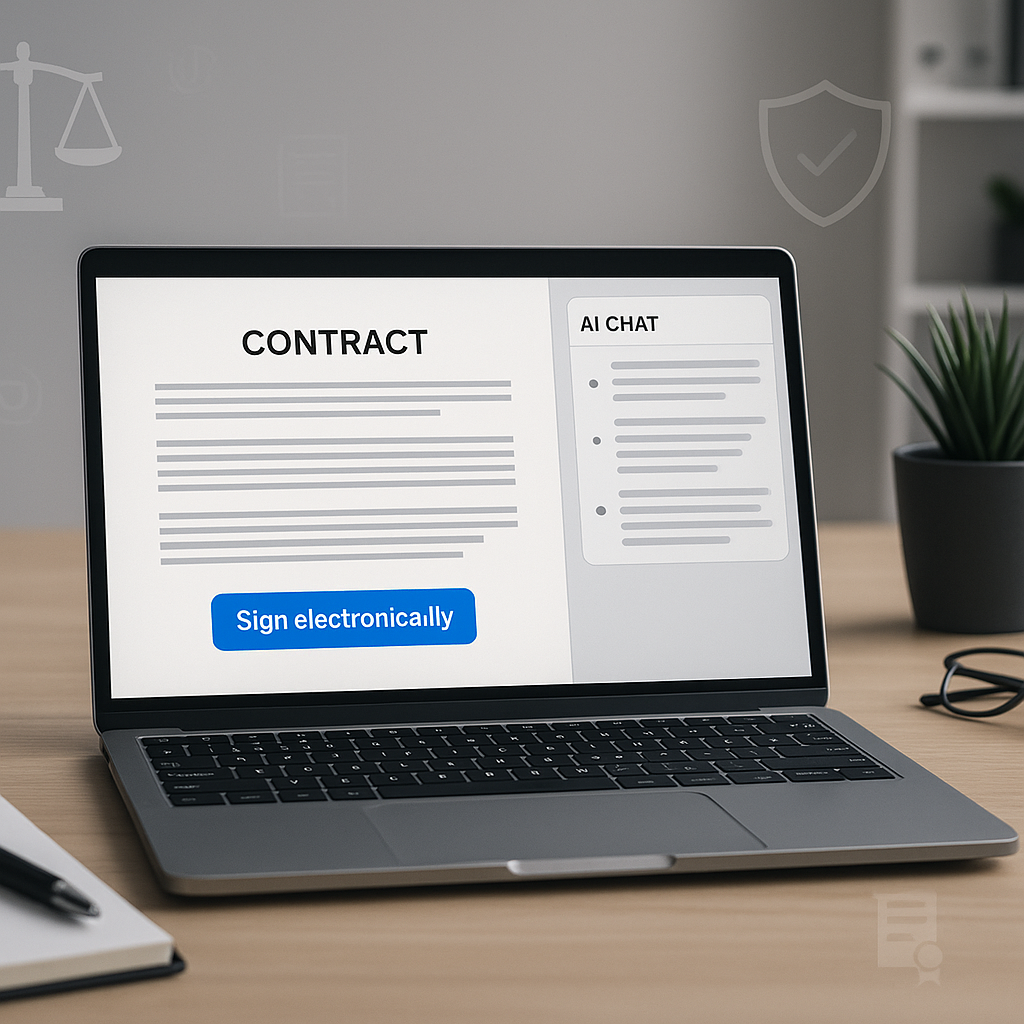
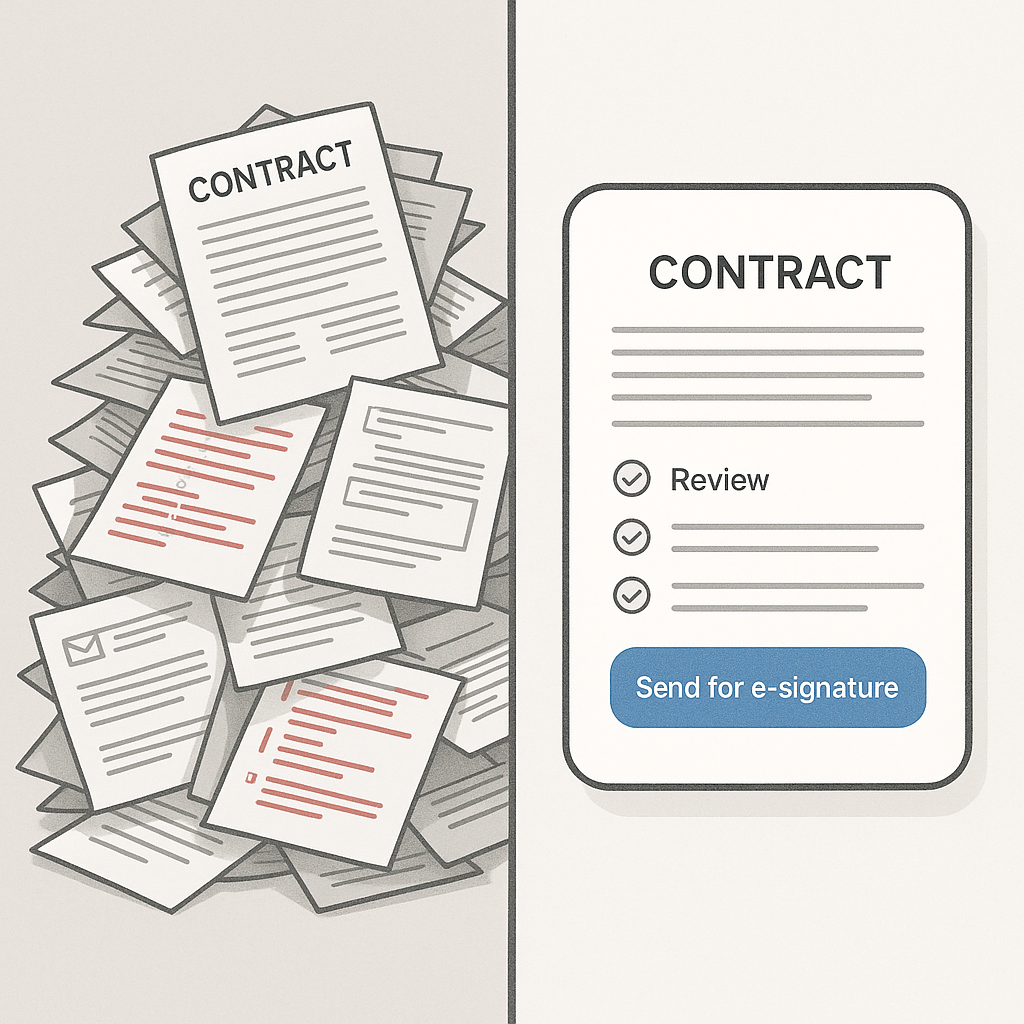
Legal contracts, NDAs, and service agreements no longer need to start from a blank page—or bounce endlessly between Word files and email threads. With modern AI and e-signature tools, you can go from idea to signed document in minutes. And with QuickSign, you can generate the legal document itself from a prompt and send it for signature in a single streamlined workflow.
This step-by-step guide shows business professionals exactly how to create legal documents with AI prompts, review them responsibly, and get them signed using QuickSign.it.
Key idea: AI can dramatically speed up legal drafting, but you must still review every clause carefully and, when needed, involve a qualified attorney—especially for complex or high-stakes agreements.
Why Use AI Prompts for Legal Documents (and Why Review Still Matters)
Generative AI is now widely used to draft contracts, summarize case law, and automate repetitive legal writing. Research shows that even specialized AI legal tools still “hallucinate” or fabricate information in 17–33% of responses, which is why every AI-generated legal document must be verified by a human before use. (arxiv.org)
At the same time, electronic signatures are broadly recognized as legally valid in the United States under ESIGN and UETA, meaning contracts signed electronically generally cannot be denied legal effect just because they’re in digital form. (helpx.adobe.com) That makes a combined AI-generation + e-signature workflow incredibly powerful for businesses—if handled correctly.
QuickSign brings these two worlds together: you can generate contracts from prompts and send them for legally binding e-signature in one place.
What You’ll Need
Before we dive into the tutorial, make sure you have:
- A QuickSign account (free tier available: generate 2 documents and send 1 document to unlimited recipients).
- A clear idea of the document type you need (e.g., NDA, service agreement, contractor agreement, sales contract).
- Basic business details: party names, addresses, governing law, payment terms, and key d
ates.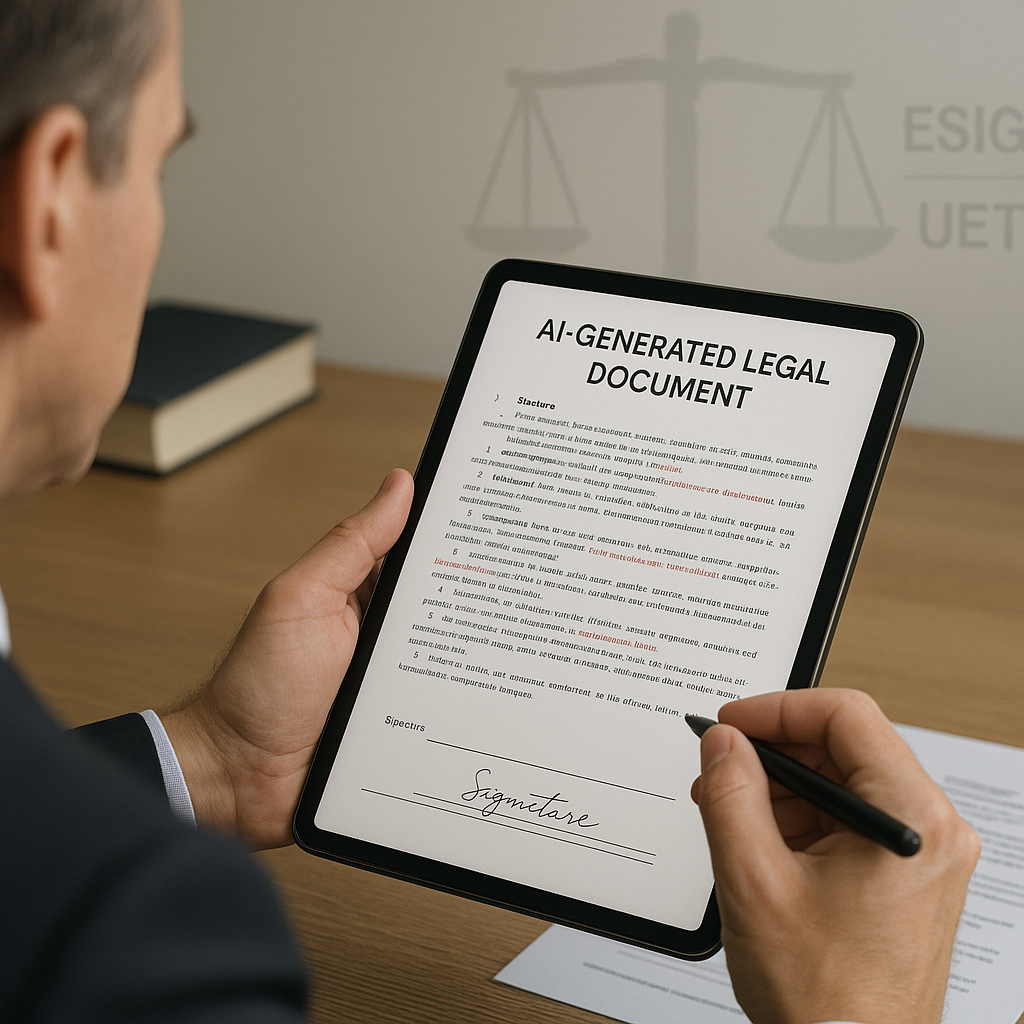
- For complex matters, access to a lawyer who can review your final draft.
Estimated time: Under 60 seconds to generate your first draft with QuickSign, plus review time.
Step 1: Log Into QuickSign and Open AI Document Generation
First, sign into your QuickSign.it dashboard.
- Go to https://quicksign.it in your browser.
- Click “Sign In” or “Get Started Free” if you don’t have an account.
- Once inside the dashboard, look for the “AI Document Generation” or “Generate Document” button in the main navigation.
You’ll be taken to a dedicated screen where you can create legal documents from scratch with AI prompts—no template hunting, no formatting headaches.
Why use QuickSign’s AI Document Generation instead of a generic chatbot?
General-purpose AI tools (like popular chatbots) can draft text, but they:
- Don’t integrate directly with e-signature workflows.
- Don’t offer drag-and-drop signature fields or signer management.
- Often require copying and pasting into another platform to get documents signed.
With QuickSign, the same platform that generates your NDA can also position signature fields and send it out to all parties, with real-time tracking of views and signatures.
Step 2: Craft a Strong AI Prompt for Your Legal Document
The quality of your output depends heavily on your prompt. Modern prompt engineering best practices emphasize being explicit about role, context, constraints, and format. Many 2025 prompt tutorials highlight a simple pattern: Role → Goal → Context → Constraints → Output format. (lawdistrict.com)
In the QuickSign AI Document Generation screen, you’ll see a large text box labeled something like “Describe the document you need” or “Enter your prompt”. This is where you describe your contract.
Example prompts you can paste into QuickSign
Example 1: Mutual NDA
Paste something like this into the prompt box:
Prompt: “Act as a business lawyer licensed in the United States. Draft a mutual non-disclosure agreement between ACME Inc., a Delaware corporation, and BrightFuture LLC, a California LLC. Purpose: sharing confidential information related to a potential software integration. Include: mutual confidentiality obligations, standard exclusions (public information, independently developed info, already known info), 3-year confidentiality period, Delaware law, venue in New Castle County, Delaware, and injunctive relief for breach. Use clear, professional language appropriate for B2B contracts. Format with numbered sections and subsection headings.”
Example 2: Independent Contractor Agreement
Prompt: “Draft an independent contractor agreement for a marketing consultant. Company: Horizon Marketing Inc., New York corporation. Contractor: Jane Doe, independent contractor based in Texas. Scope: part-time social media strategy and content, estimated 20 hours/month. Payment: $120/hour, invoiced monthly, Net 30. Include IP assignment to the company, confidentiality, non-solicitation for 12 months, liability limitation to fees paid in last 6 months, and termination with 30 days’ notice. Governed by New York law. Use clear headings and neutral, business-friendly tone.”
Pro tip: The more precise you are about jurisdiction, parties, payment terms, and risk allocation (like liability caps), the less rewriting you’ll need later.
Prompt tips inspired by modern AI prompting best practices
- Specify jurisdiction (e.g., “governed by the laws of California”); laws vary across states and countries.
- Describe the relationship clearly: employee vs contractor vs partner vs vendor.
- State what you do NOT want: e.g., “Do not include arbitration clauses” or “Avoid non-compete language.”
- Request structure: “Use numbered sections, with a Definitions section first.”
- Ask for neutral language: “Use balanced, commercially reasonable terms, not aggressively one-sided.”
You can refine your prompt as many times as needed; QuickSign will regenerate a new draft each time, using your latest instructions.
Step 3: Generate Your First Draft in QuickSign (Under 60 Seconds)
Once your prompt is ready:
- Click the “Generate Document” button.
- Wait a few seconds while the AI composes your draft.
- QuickSign will display the generated legal document in a preview pane, ready for review and editing.
This is where QuickSign’s AI Document Generation stands out: instead of juggling multiple apps, your draft is already in a format optimized for signing and sending.
Iterate using in-app refinements
If something looks off or too generic, you can:
- Use the “Edit Prompt & Regenerate” option (if available) to refine constraints.
- Directly edit clauses in the text editor inside QuickSign (e.g., adjusting notice periods, payment schedules, or IP language).
- Save as a reusable template for future deals with similar structures.
Key takeaway: Think of AI as your fast first-draft assistant—not your final authority. Your judgment (and your lawyer’s) should always be the last word.
Step 4: Review the AI-Generated Legal Document Carefully
Recent court cases have shown that blindly trusting AI in legal contexts can lead to fabricated citations and serious professional consequences. (washingtonpost.com) Even when you’re drafting private business contracts instead of court filings, accuracy matters—especially for payment, IP, and liability provisions.
A structured review checklist inside QuickSign
Go through your QuickSign-generated document section by section:
- Confirm party information
- Check legal names, entity types, and addresses.
- Ensure defined terms (like “Company” and “Contractor”) are consistent.
- Verify commercial terms
- Scope of work, deliverables, and timelines.
- Fees, invoicing, payment deadlines, and late payment terms.
- Review risk allocation
- Limitations of liability and indemnity clauses.
- Termination rights and notice periods.
- Check governing law and jurisdiction
- Confirm the state or country aligns with your expectations.
- Check any dispute resolution mechanism (court, mediation, arbitration).
- Remove or adjust any unfamiliar clauses
- If you see terms you don’t understand, flag them.
- Consider consulting a lawyer before sending.
Use QuickSign’s built-in editor to apply changes immediately. Because everything is handled in one system, your final reviewed version is automatically the version you’ll send for signature—no version confusion.
When to involve a lawyer
Legal experts and professional bodies consistently emphasize that AI tools should assist, not replace, qualified lawyers, especially when stakes are high. (lawdistrict.com) You should strongly consider professional review when:
- The contract value is large or long-term.
- You’re entering unfamiliar regulatory areas (e.g., healthcare, finance, data privacy).
- You see non-standard clauses affecting IP, liability, or compliance.
Step 5: Prepare the Document for E‑Signature in QuickSign
Once your contract or agreement looks right, it’s time to turn it into a signable document inside QuickSign.
- From the document preview, click “Continue to Signing Setup” or “Prepare for Signature”.
- QuickSign will convert your reviewed text into a signable document.
Use drag-and-drop fields to define exactly where people sign
On the signing setup screen, you’ll see your document as a PDF-like page with a toolbox of fields on the side. This is where QuickSign’s drag-and-drop field placement shines:
- Signature fields: Drag a “Signature” field to the signature line for each party.
- Initials fields: Add at the bottom of key pages or clauses if you want signers to acknowledge them.
- Date fields: Place near signatures to capture the signing date.
- Text fields: For titles, company names, or other fill-in information.
Each field can be assigned to a specific recipient (e.g., “Client,” “Vendor,” “Contractor”) so QuickSign knows who signs where.
Pro tip: Use initials fields on sensitive clauses (like liability caps or non-solicitation) to reduce later claims that a party “didn’t see” that language.
Step 6: Add Recipients and Configure Sending Options
With fields in place, you’re ready to send.
- Click “Add Recipients” in the signing setup view.
- Enter each signer’s name and email address.
- Optionally, add a signing order (e.g., Contractor signs first, then Company).
- Customize the email subject and message (e.g., “Please review and sign the attached Independent Contractor Agreement”).
Unlike traditional per-seat solutions, QuickSign offers flat-rate pricing at $15/month for the whole team, and even on the free tier you can send 1 document to unlimited recipients. That makes it ideal for small businesses managing multiple vendors or clients.
When everything looks good, click “Send for Signature”. QuickSign will immediately email each recipient a secure link to review and sign.
Step 7: Track Views and Signatures in Real Time
Once your document is out the door, QuickSign’s real-time tracking gives you visibility that email attachments never could.
In your QuickSign dashboard:
- Open the “Documents” or “Sent” tab.
- Locate your agreement (e.g., “Horizon – Contractor Agreement – Jane Doe”).
- View current status: Sent, Viewed, Signed, or Completed.
You can typically see:
- Who has opened the document and when.
- Who has signed and who is still pending.
- Automatic email reminders for outstanding signatures (if enabled).
This real-time visibility is critical for business operations and can support your record-keeping obligations under e-signature laws, which emphasize preserving signed records and demonstrating signer intent. (rsign.com)
Responsible AI Use: Privacy and Legal Considerations
As AI becomes more embedded in legal workflows, regulators and scholars are increasingly focused on confidentiality and privilege. Using public AI tools without safeguards can risk exposing sensitive client or deal information. (thetimes.com)
Best practices when prompting QuickSign’s AI
- Minimize personally identifiable information (PII) in prompts. Use placeholders like “Client A” and “Vendor B” where possible; fill in exact names in the final document.
- Avoid pasting entire confidential deal histories; summarize what’s necessary for the contract terms.
- Store final signed contracts securely and limit access within your organization.
- Consult your legal counsel if you’re subject to strict confidentiality regimes (e.g., regulated industries, attorney–client privilege scenarios).
Reminder: AI is a drafting accelerator, not a substitute for legal advice. If you’re unsure about a clause, ask a lawyer—not just another model.
Embedding Prompt Education into Your Workflow
The better your prompts, the better your contracts. Many modern tutorials and courses on prompt engineering emphasize iterative refinement and clear instructions for legal and business documents. (lawdistrict.com) While you don’t need to watch hours of training to benefit, a few small habits will go a long way:
Simple prompt formula for QuickSign users
Use this repeatable structure every time you open the AI Document Generation screen in QuickSign:
- Role: “Act as a business/technology/commercial lawyer in [jurisdiction].”
- Goal: “Draft a [document type] for [context].”
- Parties & key facts: Names, locations, relationship, scope, fees, timelines.
- Constraints: Clauses to include/exclude, tone (balanced or company-favorable), length.
- Format: “Use numbered sections, clear headings, and plain language suitable for non-lawyers.”
Save your best prompts inside your organization so your whole team can generate consistent, high-quality contracts in QuickSign.
Example Workflow: From Prompt to Signed NDA in Minutes
To see how everything fits together, here’s a realistic QuickSign workflow for a small agency sending a mutual NDA to a potential client.
- Login to QuickSign.it and click “AI Document Generation.”
- Paste a tailored NDA prompt specifying mutual obligations, 2-year term, and your state’s law.
- Click “Generate Document.” In under a minute, review the draft.
- Edit the governing law to your preferred state; shorten the notice period clause.
- Click “Prepare for Signature” and drag:
- A signature and date field for your agency representative.
- A signature and date field for the client representative.
- Add recipients: your signer and the client contact.
- Customize the email subject (“Please sign: Mutual NDA for Discovery Call”).
- Click “Send for Signature.”
- Watch the status in the dashboard: Viewed → Signed.
- Download or archive the fully executed NDA from QuickSign’s document list.
This entire flow—from idea to signature-ready NDA—can be completed in less time than it used to take just to find a decent template.
Relevant Prompting Tutorials (Optional Deep Dive)
If you want to go deeper into prompt strategy (beyond what’s needed for everyday QuickSign use), these videos provide useful general techniques that you can adapt to QuickSign’s AI prompts:
- How to Write Perfect AI Prompts in 2025 (Complete Guide)
- ChatGPT Secrets For Lawyers (Must Have ChatGPT Prompt)
- Using AI to Create Legal Documents
Remember: use these as inspiration, but always bring their ideas back into your QuickSign AI prompts so you can generate documents that are ready for drag-and-drop signing and real-time tracking.
Quick Summary
- Set up: Create a QuickSign account and open the AI Document Generation screen.
- Prompt well: Describe the document, parties, jurisdiction, and key terms clearly in your prompt.
- Generate: Click “Generate Document” and let QuickSign draft your contract in under a minute.
- Review: Carefully check and edit clauses; involve a lawyer for complex or high-value agreements.
- Prepare for signing: Use QuickSign’s drag-and-drop fields to place signatures, dates, and initials.
- Send: Add recipients and click “Send for Signature” for a seamless, legally valid e-signature flow.
- Track: Monitor document status with real-time tracking until all parties have signed.
Ready to simplify your document signing? Try QuickSign for free - generate 2 documents and send 1 document to unlimited recipients at no cost. No credit card required.