How to Send a Document for Signature: A Step‑by‑Step Guide Using QuickSign
Learn how to send a document for signature using QuickSign with this step‑by‑step guide. Streamline approvals, save time, and simplify digital signing.
How to Send a Document for Signature: A Step‑by‑Step Guide Using QuickSign
Why Sending Documents for E‑Signature Matters Today
Paper contracts, printers, scanners, and overnight couriers are rapidly disappearing from modern workflows. Electronic signatures are now the default way businesses execute contracts, HR documents, NDAs, and more. Recent industry reports show that e‑signature usage continues to surge across legal, real estate, HR, and financial services, with many organizations citing faster turnaround, cost savings, and higher security as key benefits.(zipdo.co)
Yet many business professionals still struggle with the basics: How do I actually send a document for signature in a simple, secure, repeatable way?
This guide walks you through a complete, practical workflow using QuickSign—a modern, affordable e‑signature platform with built‑in AI document generation. You’ll see how to go from “I need a contract” to “fully signed and tracked” in minutes, not days.
Key idea: With QuickSign, you can generate the document, place signature fields, send to unlimited recipients, and track signatures in real time—often in under 60 seconds.
What You’ll Need Before You Start
Before sending your first document for signature with QuickSign, make sure you have:
- A QuickSign account – You can start free: generate 2 documents and send 1 document to unlimited recipients at no cost.
- The document you want signed – Either:
- A PDF, DOCX, or similar file you already have, or
- A description of the agreement you need (for AI document generation).
- Recipient details – Names and email addresses of everyone who needs to sign (and anyone who should only receive a copy).
- Clarity on signing order – Whether signers ca
n sign in any order, or must sign sequentially.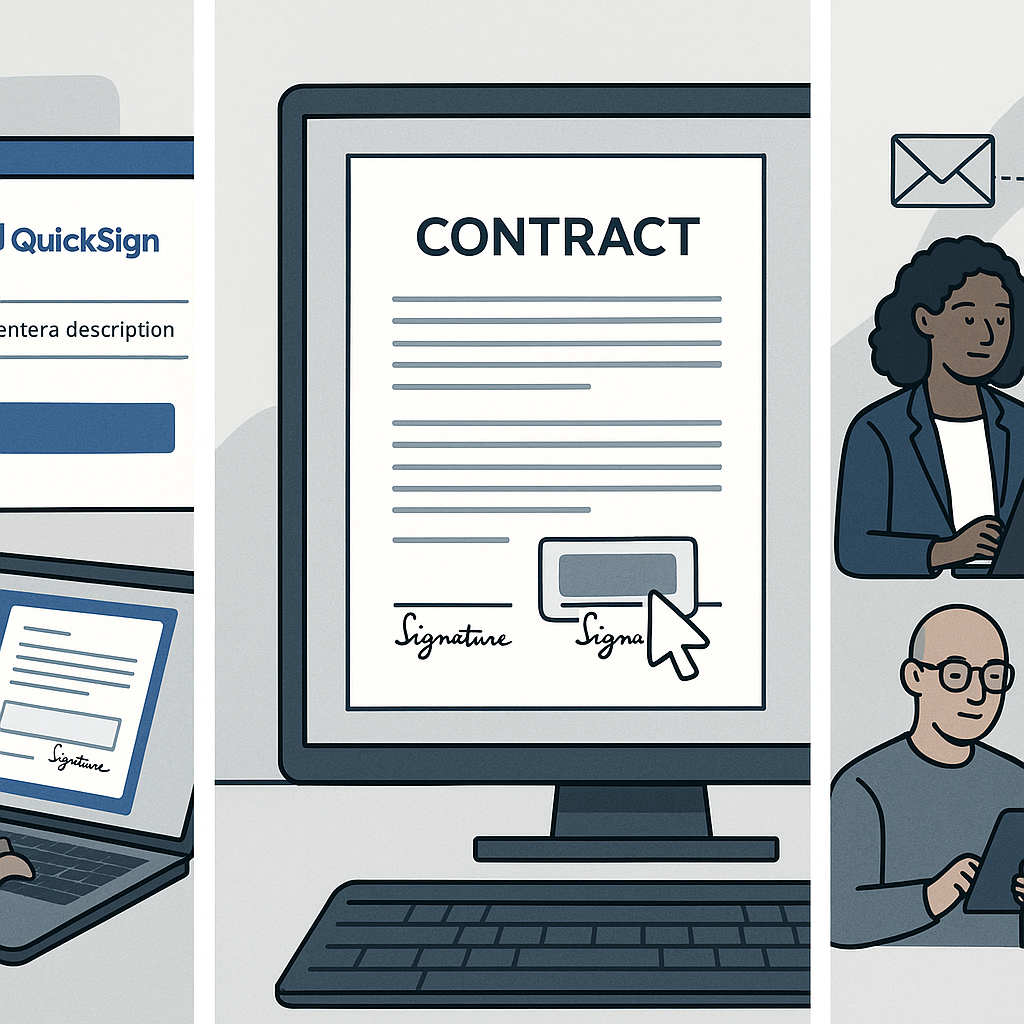
Estimated time: Once you’re familiar with the interface, sending a document for signature with QuickSign typically takes under 60 seconds.
Understanding the Basics of E‑Signatures (So Your Document Holds Up)
Before we jump into the tutorial, it’s important to understand why a structured e‑signature workflow matters.
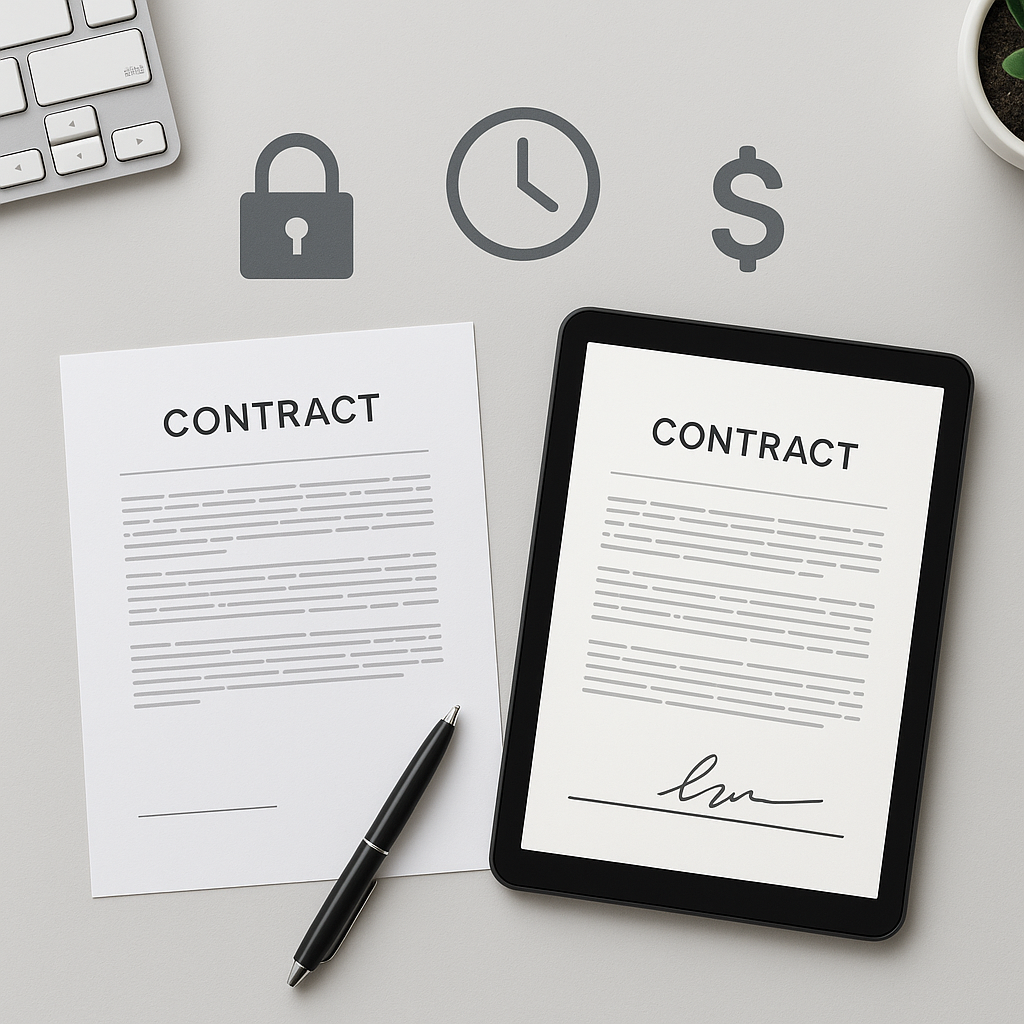
- Legal validity: In the U.S., the ESIGN Act confirms that contracts and signatures “may not be denied legal effect” solely because they are electronic.(en.wikipedia.org)
- Global standards: In the EU, the eIDAS framework (and now eIDAS 2.0) provides standardized rules for electronic signatures, including advanced and qualified signatures.(qualified-electronic-signature.com)
- Audit trails and tracking: Modern solutions provide timestamps, IP logs, and full audit trails—often more robust than wet signatures—helping with compliance and dispute resolution.(fujifilm.com)
QuickSign aligns to these expectations by giving you a clear, traceable workflow each time you send a document: who received it, who opened it, and when each person signed.
Step 1: Create or Upload the Document in QuickSign
Option A – Generate a Contract with AI (No Template Needed)
This is where QuickSign really stands out. Instead of starting from a blank Word file, you can generate complete legal documents using AI.
- Log in to your QuickSign dashboard.
- On the main dashboard, click the “Generate Document” button.
- In the prompt box, describe the agreement you need. For example:
- “A one‑page mutual NDA between a U.S. marketing agency and a SaaS startup, 12‑month term, Delaware law.”
- “A simple freelance services agreement for a graphic designer, fixed‑fee project, IP transfer to client.”
- Click “Generate”. In seconds, QuickSign’s AI document generation will draft a customized agreement based on your description.
- Review the draft in the editor, and make any manual edits you need (rates, dates, names, jurisdictions, etc.).
- Click “Save & Continue” to move to the field placement screen.
Pro tip: Use QuickSign’s AI to generate repeatable contract types (e.g., NDAs, MSAs, contractor agreements) and save them as your internal “template” library. This drastically reduces drafting time for future deals.
Option B – Upload an Existing PDF or Word Document
If your legal team already has approved templates, you can upload them directly.
- From the dashboard, click “Upload Document”.
- Drag and drop your file into the upload area or click “Browse Files” to select it from your device or cloud storage.
- Once uploaded, QuickSign automatically converts it into an e‑sign‑ready format and opens the drag‑and‑drop field placement interface.
Step 2: Add Signature and Form Fields with Drag‑and‑Drop
Correct field placement is what turns a static PDF into a smart, signable document. Many vendor guides emphasize this same pattern—upload, place fields, assign signers—as the core of any e‑signature workflow.(docs.oracle.com)
QuickSign makes this easy using a visual drag‑and‑drop interface.
Using QuickSign’s Drag‑and‑Drop Field Placement
- On the left side of the screen, you’ll see the Field Toolbar with items like:
- Signature
- Initials
- Date
- Text / Form Field (for job titles, company names, etc.)
- Select the appropriate recipient (Signer 1, Signer 2, etc.) from the top of the document preview.
- Drag a Signature field onto the section where that signer must sign.
- Drag a Date field next to the signature block to capture the signing date.
- Use Text fields wherever you need your signer to fill in information (e.g., job title, company, address).
- Repeat for each signer:
- Click their name at the top of the page.
- Place their respective signature, date, and any text fields.
Pro tip: Color‑coded fields by signer make it easy to visually confirm that every party has what they need to complete the document—reducing back‑and‑forth and missed signatures.
Step 3: Configure Recipients and Signing Order
Once your fields are in place, you’re ready to tell QuickSign who should sign—and in what sequence.
Adding Recipients
- Click the “Recipients” panel (typically on the right side or in the top navigation of the workflow screen).
- For each signer, click “Add Recipient” and enter:
- Name
- Email address
- Role (Signer or CC‑only viewer)
- To add a stakeholder who should only receive a copy (e.g., finance or legal), mark them as “CC” instead of Signer.
Setting Signing Order (Sequential vs. Parallel)
Depending on your workflow, you might require signatures in a strict order—for example, client signs first, then internal executive approval.
- In the Recipients panel, toggle “Signing Order” on.
- Drag recipients up or down to set their signing sequence (1, 2, 3…).
- If you don’t care about order, disable signing order to allow parallel signing. All signers will receive the request at the same time.
Pro tip: Use sequential signing when internal approvals must follow client approval, and parallel signing when speed matters more than hierarchy—for example, collecting signatures from multiple partners on the same document.
Step 4: Customize Your Message and Sending Options
Clear communication improves response rates and reduces confusion. Many leading e‑signature providers encourage senders to customize subject lines, instructions, and reminders for that reason.(support.microsoft.com)
Subject Line and Email Message
- Open the “Message” or “Email Settings” section.
- Set a concise, informative subject line, for example:
- “Please e‑sign: Marketing Services Agreement – ACME Corp”
- “Signature Request: Employee Confidentiality Agreement”
- In the message body, explain:
- What the document is
- Why their signature is needed
- Any deadline or next steps
Optional Settings You Might Configure
Exact options vary by account level, but in a typical QuickSign workflow you might see:
- Reminders: Choose whether QuickSign should automatically remind signers who haven’t completed the document.
- Expiration: Set a date after which the signing link no longer works.
- Authentication: For sensitive documents, add extra verification (e.g., SMS code or access PIN) if available in your plan.
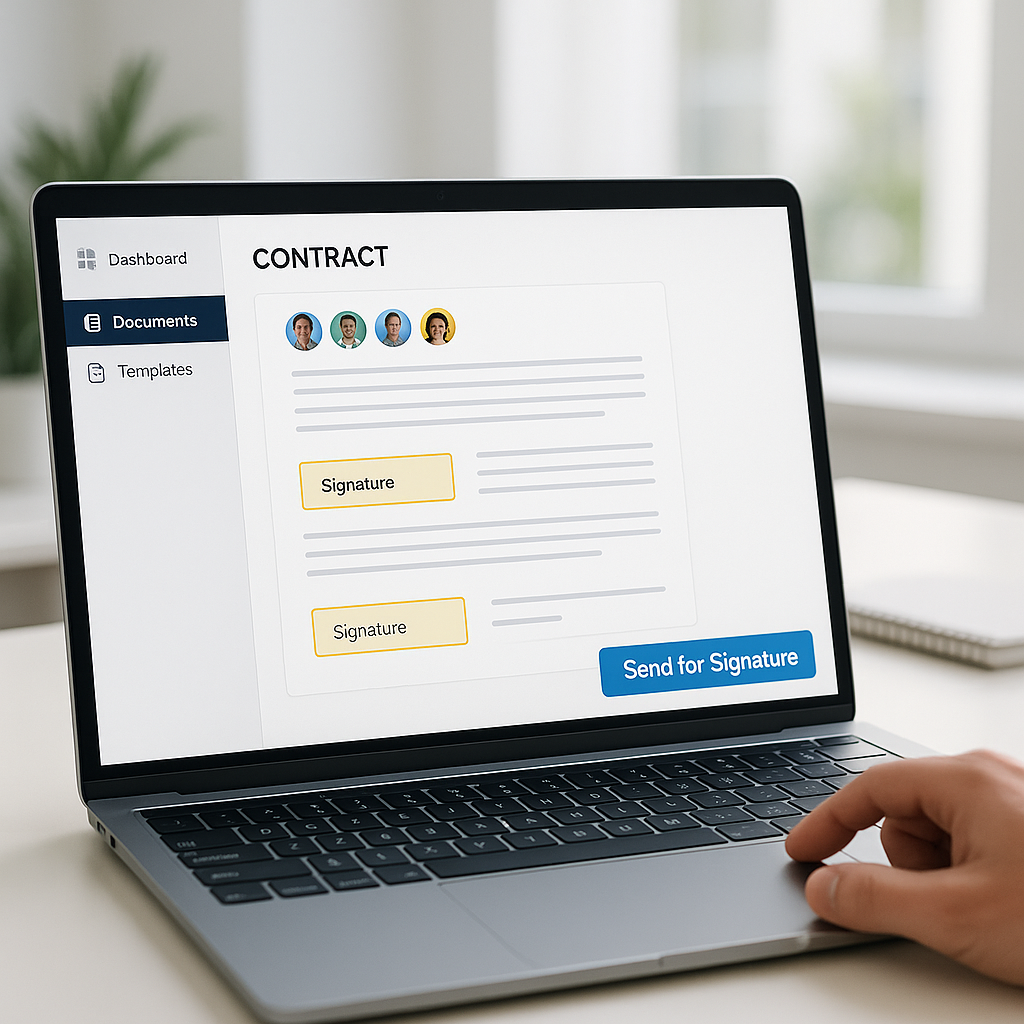
Step 5: Send the Document for Signature in Seconds
Once you’ve reviewed fields, recipients, and messaging, you’re ready to send.
- Click the “Review & Send” button to preview the entire envelope (document + recipients + message).
- Double‑check:
- All signers are listed with the correct email addresses.
- Each signer has at least one signature field assigned.
- Your subject line and message look correct.
- Click “Send for Signature”.
QuickSign now emails each recipient a secure link to review and sign the document. As recipients open and sign, your dashboard updates in real time.
Key benefit: Unlike traditional per‑seat solutions, QuickSign lets you send to unlimited recipients—even on the free tier’s first document—so you don’t have to worry about “running out of licenses” when legal or finance needs access.
Step 6: How Recipients Sign the Document
Your recipients do not need a QuickSign account to sign. The signing experience is designed to be intuitive—even for non‑technical users.
Typical Signer Experience
- The recipient receives an email with your subject line, e.g., “Please e‑sign: Consulting Agreement.”
- They click “Review & Sign” in the email.
- The document opens in their browser with clear prompts:
- “Start” button or highlight showing where the first required field is.
- Navigation between required fields.
- For a Signature field, they can typically:
- Type their name in a signature style,
- Draw their signature with a mouse or touchscreen, or
- Upload an image of their handwritten signature (depending on settings).
- After completing all required fields, they click “Finish” or “Complete Signing”.
For signers who are used to tools like Word’s built‑in signature line or PDF markup, this browser‑based experience will feel familiar, but far more structured and auditable.(support.microsoft.com)
Step 7: Track Status and Manage Signed Documents in Real Time
One of the biggest advantages of QuickSign over ad‑hoc methods (like emailing Word attachments) is real‑time tracking. You immediately know where each document stands.
Using QuickSign’s Real‑Time Tracking Dashboard
- From the main navigation, click “Documents” or “Sent” to open your document list.
- Each document shows a status badge, such as:
- Draft – Not yet sent
- Sent – Awaiting signatures
- Viewed – Opened by at least one signer
- Completed – Fully signed by all parties
- Declined or Expired – As applicable
- Click any document to view details:
- Which recipients have viewed the document
- Who has signed and when
- Audit trail entries (timestamps, IP addresses, etc.)
Pro tip: Use real‑time tracking to proactively follow up. If a high‑value client has viewed but not signed in 48 hours, send a personalized reminder linked to their specific questions or concerns.
Downloading and Sharing Completed Agreements
- When a document is marked Completed, open it from your dashboard.
- Click “Download Signed PDF” to save a fully executed copy with signatures and timestamps.
- If needed, click “Download Audit Trail” for compliance or internal record‑keeping.
- Store the executed agreement in your DMS or CRM, or link it directly from there to the QuickSign record.
Real‑World Example: Sending a Client Services Agreement in Under a Minute
Imagine you run a small marketing agency and just closed a new client. You want a signed services agreement before starting work.
- Generate with AI: Click “Generate Document” in QuickSign and enter: “Monthly marketing services agreement, $4,000/month, 6‑month term, New York law.”
- Review & Edit: Adjust scope and pricing details, then click “Save & Continue”.
- Place fields: Drag a Signature and Date field for your client, and another set for your agency representative.
- Add recipient: Enter the client’s contact name and email, and add yourself as a co‑signer.
- Set signing order: Client first, then you (so you only sign once the client commits).
- Customize message: “Hi [Client], great speaking today. Please e‑sign this agreement so we can kick off on Monday.”
- Send: Click “Send for Signature”.
Within minutes, the client receives a link, reviews the document, signs, and you get a real‑time notification that it’s ready for your counter‑signature. No printing, no scanning, no chasing down attachments.
Cost and Scalability: Why Flat‑Rate E‑Signatures Matter
Many e‑signature tools charge per seat or per envelope, which can become expensive as more departments adopt digital contracts. Industry data shows that as adoption spreads across legal, HR, sales, and operations, usage often grows much faster than originally budgeted.(fujifilm.com)
QuickSign is designed for small businesses that want predictable costs:
- Generous free tier: Generate 2 documents and send 1 document to unlimited recipients at no cost.
- Flat‑rate pricing: Upgrade to just $15/month for your entire team—no per‑seat licenses.
- Unlimited recipients: Send to as many signers and CCs as needed, without worrying about incremental fees.
Related Video Resources (For Visual Learners)
If you prefer to see similar workflows in action, these videos (from other tools) show the same core concepts you’ll use in QuickSign: upload or create a document, add fields, assign signers, and send.
Example: Sending a Document for E‑Signature
Example: Adding a Signature Area in a Word Document
Example: Managing Multi‑Document Signature Workflows
The exact UI will differ, but the underlying process is the same—and QuickSign is built to make that process as fast and affordable as possible.
Quick Summary: How to Send a Document for Signature with QuickSign
- Create or upload your document
- Use QuickSign AI Document Generation to draft contracts from scratch, or
- Upload existing PDFs/Word files from your device or cloud.
- Add fields with drag‑and‑drop
- Place Signature, Date, Initials, and Text fields exactly where each signer needs to act.
- Configure recipients and signing order
- Add signer names and emails, plus any CC recipients.
- Choose sequential or parallel signing depending on your workflow.
- Customize email subject and message
- Clarify what the document is and when you need it signed.
- Send for signature
- Click “Send for Signature” and let QuickSign handle secure delivery and link management.
- Track status in real time
- Monitor who has viewed and signed, and download the fully executed document and audit trail when complete.
Ready to simplify your document signing? Try QuickSign for free - generate 2 documents and send 1 document to unlimited recipients at no cost. No credit card required.