How to Sign a Document Online: A Step-by-Step Guide Using QuickSign
Learn how to sign a document online in minutes with this step-by-step QuickSign guide. Secure, legal, and easy e-signatures for all your important files.

How to Sign a Document Online: A Step-by-Step Guide Using QuickSign
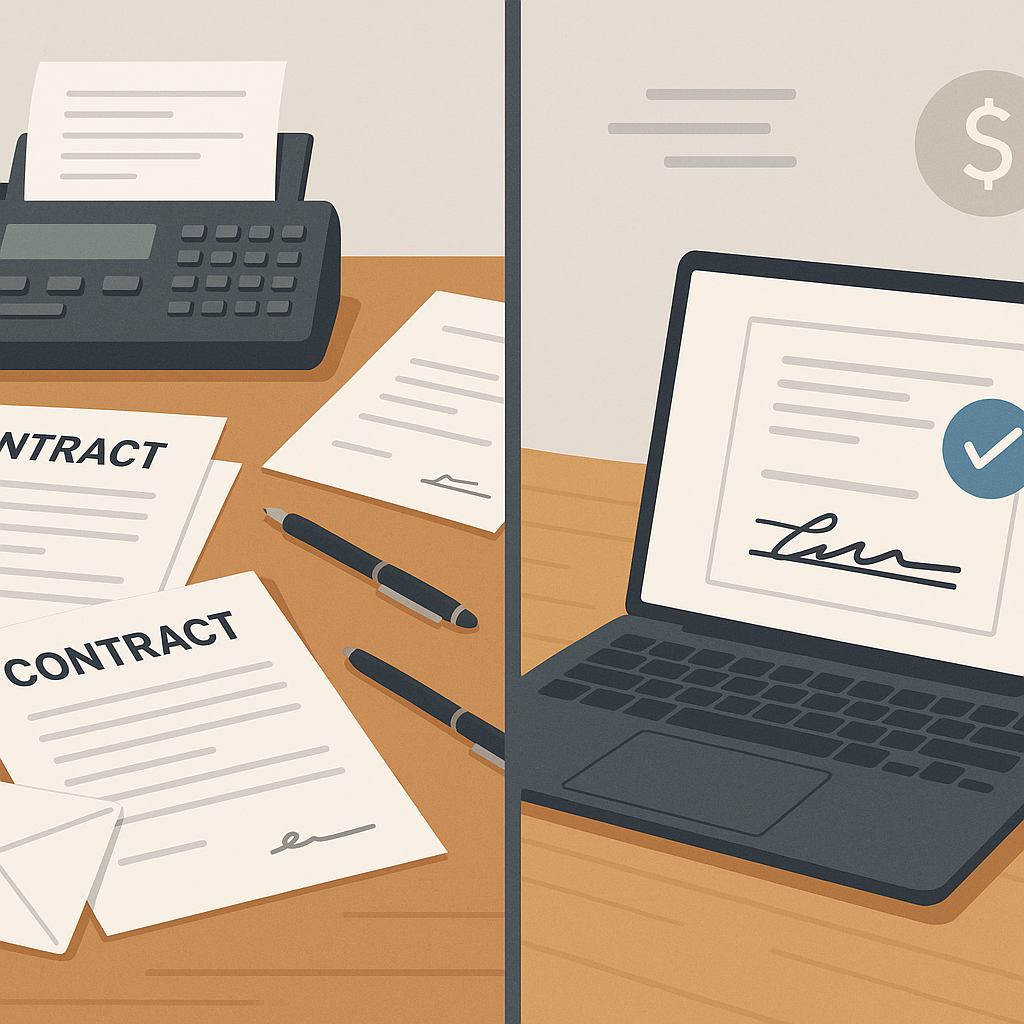
If you’re still printing, scanning, or overnighting contracts, you’re spending too much time and money on signatures. Modern e‑signature tools let you sign documents online in minutes—and solutions like QuickSign make the entire process secure, legally binding, and simple enough to complete in under 60 seconds.
In this guide, you’ll learn exactly how to sign a document online, what makes an e‑signature legally valid, and how to use QuickSign to generate, send, and track business documents from one streamlined dashboard.
Key insight: Companies using electronic signatures cut contract execution times from days to hours and report up to 40% faster contract processing and significant cost savings compared to paper workflows.(zipdo.co)
Why Sign Documents Online in the First Place?
Before we get into the “how”, it helps to understand the “why”. Electronic signatures are more than a convenience—they’re now a core business capability.
- Speed: Electronic signatures can cut the time to execute a contract from an average of 10 days to about 2 hours.(zipdo.co)
- Cost savings: Businesses save up to $28 per document by eliminating printing, scanning, mailing, and storage costs.(certinal.com)
- Security & compliance: Modern platforms offer encryption, authentication, and detailed audit trails, and are designed to comply with ESIGN, UETA, and eIDAS.(helpx.adobe.com)
- Better experience: 75% of users describe their e‑signature experience as “easy,” and most agreements are signed within 24 hours.(fujifilm.com)
QuickSign brings these advantages together in a modern, AI‑powered platform—letting you both create and sign documents online, instead of just dropping signatures on existing PDFs.
Are Online Signatures Legally Binding?
In the United States, electronic signatures are broadly recognized as legally enforceable under the ESIGN Act and UETA. These laws confirm that a signature can’t be denied legal effect solely because it is electronic, as long as core elements—like intent to sign and consent to do business electronically—are present.(helpx.adobe.com)
Most reputable e‑signature platforms help you satisfy these elements by:
- Capturing clear intent to sign (e.g., clicking a clearly labeled “Sign” button or drawing a signature)
- Documenting audit trails (timestamps, IP addresses, email addresses)
- Providing secure record retention and download options for all parties
QuickSign is designed to support secure, legally binding workflows with audit trails, real‑time tracking, and tamper‑evident final PDFs you can store or forward to your legal team as needed.(quicksign.it)
Pro tip: For high‑value agreements, always verify that your internal policies and local regulations accept elect
ronic signatures for your specific use case (for example, some family law matters or wills may require wet signatures in certain jurisdictions).(helpx.adobe.com)
What You’ll Need Before You Start
To sign a document online with QuickSign, you’ll need:
- A QuickSign account: You can start free—no credit card required.(quicksign.it)
- Your document: Common formats include PDF, Word, PNG, or JPEG.
- The signer list: Names and email addresses of everyone who needs to sign.
- Your preferred signature style: Typed, drawn, or uploaded image.
This entire process typically takes under 60 seconds once you’re familiar with the interface.
Method 1: Sign an Existing PDF or Document Online with QuickSign
Step 1: Create Your Free QuickSign Account
First, head to QuickSign.it.
- Click the “Sign up for free” or “Get started free” button on the homepage.(quicksign.it)
- Enter your work email and create a password, or use your existing login method if you already have an account.
- Confirm your email if prompted.
Once you’re in, you’ll land on the main dashboard where you can upload documents, generate new ones with AI, and track everything from one place.
Step 2: Upload the Document You Want to Sign
On the dashboard, look for the upload section typically labeled “Upload document” or a prominent button such as “Upload”.(quicksign.it)
- Click “Upload document”.
- Select your file (PDF, Word, PNG, JPEG, etc.) from your computer.
- Wait a moment while QuickSign processes and prepares it for editing.
Once uploaded, you’ll be taken to the document editor where you can add signature and other fields.
Step 3: Drag and Drop Signature Fields Where You Need Them
QuickSign uses a drag‑and‑drop field placement system, so you don’t have to wrestle with coordinates or complex menus.(quicksign.it)
- In the right‑hand or left‑hand sidebar, locate the fields panel (e.g., “Signature”, “Initials”, “Text”, “Date”).
- Drag a “Signature” field to the place on the page where the signer should sign.
- Drop the field; you can resize or reposition it by clicking and dragging if needed.
- Add additional fields like:
- Initials fields on every page
- Date fields next to the signature
- Text fields for titles, company names, or custom notes
Pro tip: Use separate signature fields for each party. In QuickSign, you can assign fields to individual signers so each person only sees and completes the fields relevant to them.
Step 4: Add Recipients and Assign Fields
Once your fields are in place, it’s time to add signers.
- Click the “Add recipients” or “Recipients” tab in the editor.(quicksign.it)
- Enter each signer’s name and email address.
- Optionally set a signing order (for example, Client first, then Internal Approver).
- Assign each signature, text, and date field to the appropriate recipient from a simple dropdown.
This ensures that when signers open the document, QuickSign automatically highlights the fields they need to complete—reducing errors and back‑and‑forth.
Step 5: Send the Document for Signature in Seconds
With fields and recipients ready, you’re one click away from sending.
- Click the “Send for signature” or “Send request” button at the top or bottom of the editor.(quicksign.it)
- Customize the message that will appear in the email invite (e.g., “Please review and sign our services agreement”).
- Optionally set:
- Reminders for outstanding signatures
- Expiration dates for time‑sensitive offers
- Click “Send”.
Your recipients will instantly receive a secure link to view and sign from any device—no account required to sign.
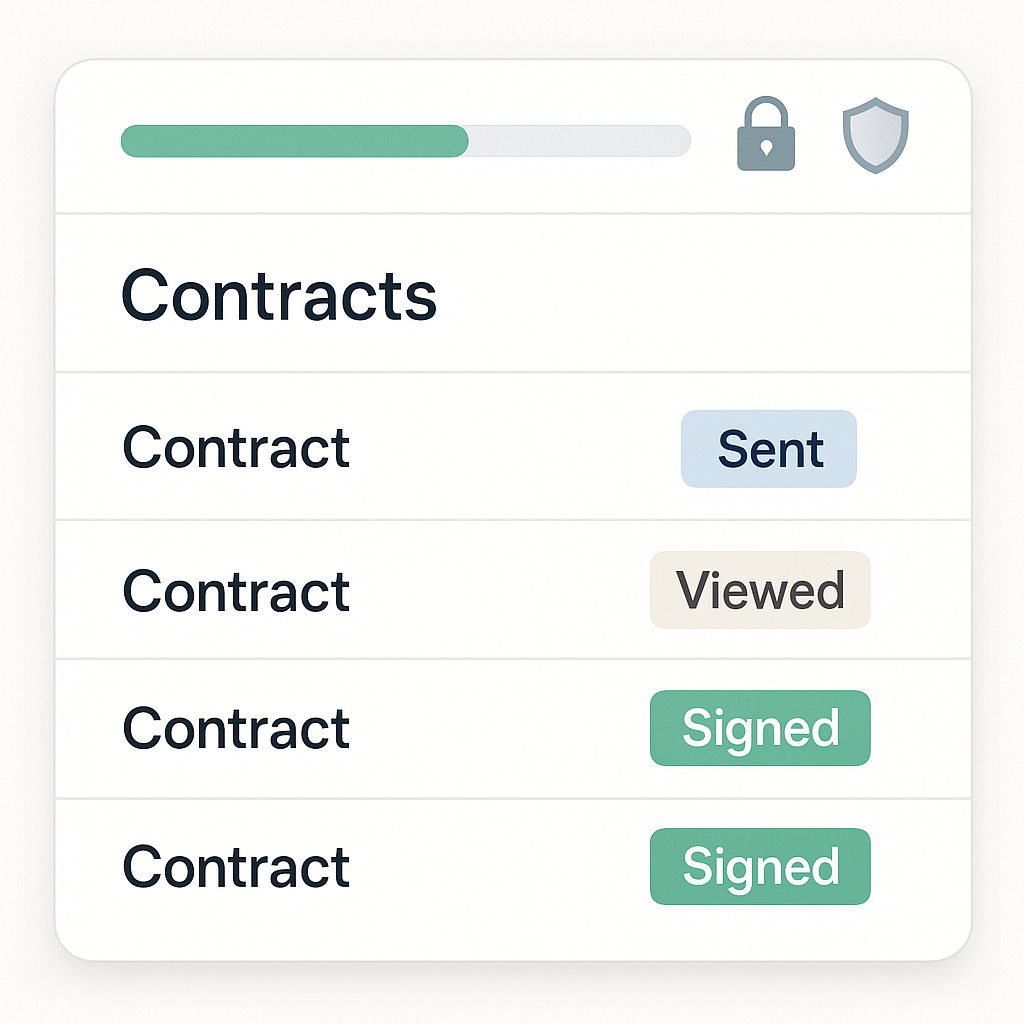
Step 6: Track Views, Opens, and Completed Signatures in Real Time
One of the most powerful aspects of online signing is visibility. QuickSign includes real‑time tracking so you can see exactly where your document stands.(quicksign.it)
- From your dashboard, open the “Documents” or “Activity” view.
- Locate your document—statuses such as “Sent”, “Viewed”, “Signed” are shown at a glance.
- Click into a document to see a full audit trail with timestamps for:
- When each signer opened the email
- When they viewed the document
- When they completed their signature
When all parties have signed, QuickSign automatically finalizes the document and stores it securely so you can download or share it.
Method 2: Generate a New Contract with AI and Then Sign It
What if you don’t even have a contract ready yet? This is where QuickSign truly stands out: you can generate legal documents from scratch with AI and then send them out for signature—all inside one platform.(quicksign.it)
Step 1: Use AI Document Generation
- From the QuickSign dashboard, click the “Generate with AI” or “Generate Document” button in the “Don’t have a document?” section.(quicksign.it)
- Choose the type of document you need, such as:
- Non‑Disclosure Agreement (NDA)
- Freelance / Services Agreement
- Offer Letter
- Invoice or basic agreement
- Describe your needs in natural language (for example, “NDA between my agency and a SaaS client in California, 1‑year term, mutual confidentiality”).
- Click “Generate” and review the AI‑drafted text.
You can edit clause language directly in the editor until it matches your internal standards.
Pro tip: Use AI to create a first draft, then have legal review and save the final version as a template inside QuickSign so future deals take seconds instead of hours.
Step 2: Add Signature Fields and Send
Once your AI‑generated document is ready:
- Click “Prepare for signing” or continue straight into the signing editor.
- Use the same drag‑and‑drop fields described earlier to place signature, date, and text fields.
- Add your recipients and assign fields.
- Click “Send for signature”.
This workflow is ideal for NDAs, standard MSAs, and recurring contracts where speed matters as much as accuracy.
Method 3: Sign a Document Yourself (No External Recipients)
Sometimes you just need to apply your own signature on a document—like a vendor form or an internal approval—without involving anyone else.
- Upload your document in QuickSign as usual.
- When adding recipients, set yourself as the only signer.
- Drag a Signature field where you need it.
- Click “Sign Now” inside the preview:
- Choose to type your name in a professional font.
- Draw your signature with a mouse or trackpad.
- Upload a scanned signature image if you prefer brand consistency.
- Click “Finish” to generate the signed PDF.
You can download the signed file immediately or store it in your QuickSign account for future reference.
Embedding and Understanding Video Tutorials
If you prefer visual walkthroughs, these short videos illustrate the basics of adding an electronic signature—concepts that translate directly into how you’ll work inside QuickSign’s browser‑based editor.
Example: Adding a Signature to a PDF
This #shorts video demonstrates the general idea of inserting a signature in a PDF. In QuickSign, you achieve the same outcome fully online, without needing to open a separate PDF editor.
Example: Signing a PDF Document Online
The workflow in this video—uploading, positioning signature fields, and sending to sign—mirrors the streamlined process in QuickSign’s drag‑and‑drop interface.
Example: Creating an Electronic Signature
QuickSign gives you similar options to create your electronic signature: type, draw, or upload—then reuse the same signature across all your documents for a consistent professional look.
Real-World QuickSign Workflows for Business Professionals
Scenario 1: Signing Client Service Agreements
A marketing agency repeatedly sends the same services contract to new clients.
- Use AI Document Generation in QuickSign to draft a robust services agreement based on your typical scope.
- Have your legal advisor review and finalize the text.
- Save it as a template in QuickSign.
- For each new client, open the template, update project‑specific details, add the client as a recipient, and send for signature.
- Monitor signatures via real‑time tracking and automated reminders.
This turns what used to be a multi‑day back‑and‑forth into a standardized, sub‑60‑second workflow.
Scenario 2: NDAs Before Sales Calls
Before sharing sensitive information in a sales call, your team wants an NDA in place.
- From the QuickSign dashboard, click “Generate with AI” and select an NDA template.
- Enter basic details about the parties, jurisdiction, and confidentiality scope.
- Generate, review, and adjust any clauses to match your risk profile.
- Send to your prospect using Seamless Sending; they sign from any device without creating an account.
- Use real‑time tracking so your AE knows the moment the NDA is executed and can move forward with sharing slides and data.
Scenario 3: Team-Wide Adoption at a Flat Rate
Many legacy platforms charge per seat, making it expensive to roll out e‑signatures across your entire business. Unlike traditional per‑seat solutions, QuickSign offers flat‑rate pricing starting at $15/month for your whole team, so you don’t have to pick and choose who gets access.
- Generous free tier: Generate 2 documents and send 1 document to unlimited recipients to test the full workflow.
- Flat‑rate upgrade: Give everyone—from sales and HR to finance and operations—access to AI document generation and unlimited sends without worrying about license math.
Security, Compliance, and Best Practices When Signing Online
While platforms like QuickSign are built to support secure, compliant signing, you still play a role in using them effectively.
- Verify signer identity: Use work email addresses where possible and, for sensitive documents, consider adding additional verification steps externally (e.g., a quick confirmation call).
- Review documents before signing: Even with AI‑generated drafts, always read and understand the agreement before you click “Sign”.
- Maintain records: Download fully executed PDFs and keep them in your DMS or CRM, even though QuickSign securely stores them for you.
- Align with your counsel: For highly regulated or high‑value agreements, confirm your legal team is comfortable with e‑signature workflows for that document type.
Quick Summary: How to Sign a Document Online with QuickSign
- Set up: Create a free account on QuickSign.it (no credit card required).
- Prepare your document:
- Upload an existing PDF/Word file, or
- Use AI Document Generation to draft a new NDA, contract, or agreement in seconds.
- Add fields: Use drag‑and‑drop to place signature, date, text, and initials exactly where they’re needed.
- Add recipients: Enter signer emails, assign fields, and (optionally) define signing order.
- Send for signature: Click “Send for signature”. Recipients sign from any device, no login required.
- Track & store: Use real‑time tracking to see when documents are opened and signed, then download or store the finalized PDF in QuickSign.
Ready to simplify your document signing? Try QuickSign for free - generate 2 documents and send 1 document to unlimited recipients at no cost. No credit card required.