How to Sign a PDF Online: Step-by-Step Guide Using QuickSign
Learn how to sign PDF online in minutes with QuickSign. Follow our easy step‑by‑step guide to securely add your digital signature from any device.

How to Sign a PDF Online: Step-by-Step Guide Using QuickSign
Signing PDFs online has gone from a “nice-to-have” to a daily necessity for modern businesses. Remote teams, digital contracts, and global clients all expect fast, secure, and legally valid e-signatures. Instead of printing, signing, scanning, and emailing, tools like QuickSign let you sign and send documents in under a minute—while maintaining compliance with major e-signature regulations like ESIGN and UETA in the United States and eIDAS in the EU.(en.wikipedia.org)
This tutorial will show you exactly how to sign a PDF online using QuickSign.it, from uploading your document to tracking signatures in real time. You’ll also learn best practices to keep your signatures legally sound and professionally presented.
Why Sign PDFs Online Instead of on Paper?
Before we dive into the step-by-step QuickSign tutorial, it’s useful to understand why online PDF signing has become standard for business professionals.
- Speed: E-signature workflows can cut document turnaround times from days to minutes by eliminating printing, mailing, and scanning.(adobe.com)
- Legal validity: In the US, the ESIGN Act and UETA establish that electronic signatures can have the same legal effect as handwritten signatures, provided intent and consent are clear.(en.wikipedia.org)
- Global compatibility: In the EU, the eIDAS Regulation defines electronic, advanced, and qualified electronic signatures and supports cross-border digital transactions.(en.wikipedia.org)
- Security: Modern platforms add audit trails, timestamps, and integrity controls to help prove who signed and when, and to detect tampering.(adobe.com)
- Convenience: Recipients can sign from any device, anywhere, with no special software.
Key takeaway: With a solution like QuickSign, you’re not just digitizing your signature—you’re upgrading the entire contract workflow to be faster, more traceable, and more secure.
What You’ll Need
To follow this tutorial and sign a PDF online using QuickSign.it, you’ll need:
- A QuickSign account: You can start free and get 2 AI-generated documents plus 1 document send to unlimited recipients.
- Your PDF document: A contract, NDA, proposal, invoice, or any PDF that requires a signature.
- <
strong>Names and emails of signers: Yourself and any other parties who need to sign.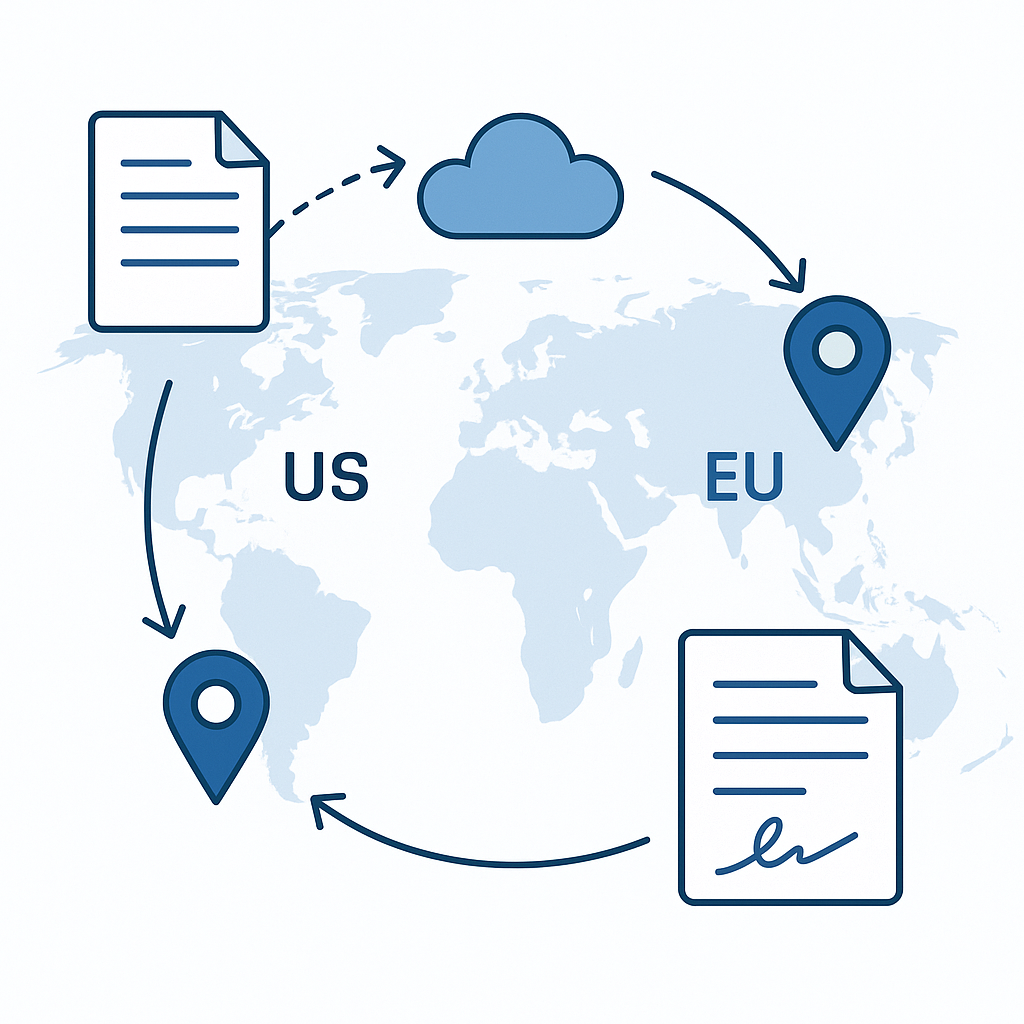
- Rough time required: Creating and sending a signable PDF takes under 60 seconds with QuickSign once your document is ready.
Two Ways to Sign a PDF with QuickSign
There are two common scenarios when you want to sign a PDF online:
- You already have a finalized PDF and simply need to add signatures.
- You still need to generate the document (e.g., NDA, contract) before sending it out.
QuickSign uniquely handles both:
- AI Document Generation to create contracts, agreements, or NDAs from a short text prompt.
- Drag-and-drop field placement on any uploaded PDF so you can add signatures, dates, initials, and text exactly where you want them.
We’ll cover both flows below.
Step 1: Create Your Free QuickSign Account
Estimated time: 30–60 seconds.
-
Go to QuickSign.it in your browser.
-
Click the “Sign up free” or similar call-to-action button on the homepage.
-
Enter your work email and set a secure password, or continue with your preferred SSO method (if available).
-
Confirm your email if prompted (check your inbox for a verification link).
Once your account is active, you can immediately use the generous free tier: generate up to 2 documents with AI and send 1 document to unlimited recipients—ideal for testing a real signing workflow with your team.
Pro tip: Because QuickSign uses flat-rate pricing of $15/month for your whole team, you can invite colleagues without worrying about per-seat fees as you grow.
Step 2: Decide – Upload an Existing PDF or Generate One with AI
This is where QuickSign.it stands out compared to traditional tools that only handle signing. Many businesses first have to draft a contract in Word or Google Docs, export to PDF, and then upload it to a signing tool. E-signature workflow research from major vendors emphasizes template reuse and automation for efficiency, but few platforms help you create the document from scratch.(adobe.com)
Option A: Upload an Existing PDF
If your PDF is already prepared (for example, a vendor contract or a signed-but-not-executed version), follow these steps:
-
From your QuickSign dashboard, click the “Upload PDF” or “New Document” button.
-
Drag-and-drop your PDF into the upload area or click to browse files from your computer or cloud storage (e.g., Google Drive or similar, if integrated).
-
Wait a few seconds while QuickSign processes and opens your file in the document editor.
Option B: Generate a New Document with AI (Contracts, NDAs, Agreements)
If you don’t have a finalized PDF yet, you can bypass Word templates entirely and let QuickSign’s AI draft the document for you.
-
In the dashboard, click “Generate Document”.
-
In the prompt box, describe what you need. For example:
- “Mutual NDA between a US software company and a European client, 1-year term, New York law, standard confidentiality clauses.”
- “Freelance marketing services agreement for a 6-month engagement, including payment schedule and IP ownership.”
-
Click “Generate”. In a few seconds, QuickSign’s AI will create a professional, legally structured document based on your description.
-
Review the draft on-screen. You can edit clauses, update names, adjust dates, and add any company-specific language directly in the editor.
-
When you’re satisfied, click “Save & Prepare for Signing”. QuickSign will convert it to a sign-ready PDF inside the platform.
Pro tip: Use QuickSign’s AI to create reusable “base contracts” for recurring workflows (sales agreements, NDAs, contractor agreements). This dramatically reduces manual drafting time while keeping your structure consistent across deals.
Step 3: Add Signature and Form Fields with Drag-and-Drop
Now that your document is open in QuickSign’s editor, you’ll place all the fields needed for signing. Many leading solutions emphasize visual workflow builders for e-signature processes, and QuickSign applies the same concept at the field level.(business.adobe.com)
-
In the left or right sidebar, locate the fields toolbar. You’ll typically see:
- Signature
- Initials
- Date
- Text (for names, titles, amounts)
-
Click and drag a Signature field to the appropriate signature line on the PDF.
-
Click and drag a Date field near each signature line, so the signing date is captured automatically.
-
If your contract requires initials on specific pages, drag Initials fields to the bottom corners where initials are needed.
-
Use Text fields for any information that needs to be filled in (job titles, company names, addresses, or specific deal terms that must be typed).
-
Assign each field to a signer (e.g., “Me,” “Client,” “Vendor”). QuickSign lets you specify who is responsible for each field so the signer sees only their own inputs during the signing experience.
Key takeaway: With QuickSign’s drag-and-drop interface, you don’t need design skills or PDF editing software—just drag fields to the right spot and assign them to the right person.
Step 4: Add Recipients and Configure the Signing Order
Next, you’ll tell QuickSign who needs to sign and in what order. Research on e-signature workflows highlights the importance of routing documents correctly and controlling the sequence of approvals.(adobe.com)
-
Click “Add Recipients” or the “Recipients” tab in the QuickSign interface.
-
Enter the name and email address for each signer (including yourself, if you’re signing).
-
Optionally set a signing order, such as:
- Step 1 – Your company representative
- Step 2 – Client decision-maker
- Step 3 – Internal approver (e.g., legal or finance)
-
Add a short message to recipients, explaining what the document is and when you need it signed (e.g., “Please sign this services agreement by Friday so we can start the project on Monday.”).
QuickSign’s seamless sending flow lets you complete this step in seconds. Unlike traditional per-seat solutions, QuickSign offers flat-rate pricing at $15/month, so you can send as many documents as you want for your entire team without calculating seat-based costs each time.
Step 5: Send the Document for Signature
With fields placed and recipients added, you’re ready to send.
-
Click the “Send for Signature” button.
-
Review the summary screen (document name, recipients, signing order, and optional reminders).
-
Confirm by clicking “Send”.
QuickSign automatically emails each signer a secure link to the document. Depending on your configuration, they may need to authenticate via email link or other methods before signing—an important part of ensuring intent, attribution, and record integrity for legal compliance.(en.wikipedia.org)
Step 6: How Recipients Sign the PDF Online
From your signers’ perspective, the process is straightforward and requires no technical expertise.
-
The recipient opens the email invitation sent by QuickSign and clicks the “Review & Sign” button.
-
The document opens in their browser with a clean interface that guides them through each required field.
-
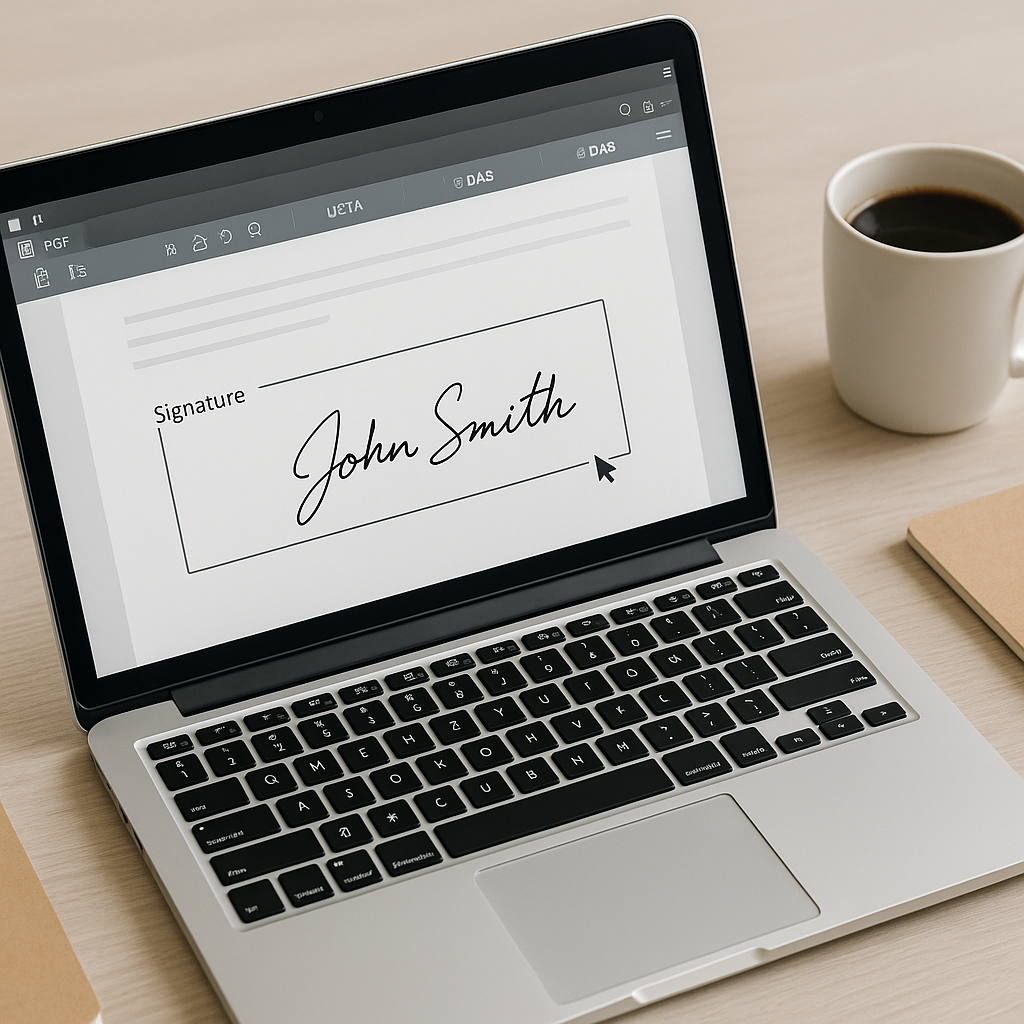
For each signature field, they can typically:
- Draw their signature with a mouse, trackpad, or touchscreen.
- Type their name and choose a script-style font.
- (Where supported) Upload a scanned image of their handwritten signature.
-
They fill in any required text fields (e.g., job title, company name) and click “Finish” or “Complete Signing”.
On completion, both you and the signer receive confirmation that the document has been signed, and the signed PDF is stored securely in your QuickSign account for future reference.
Step 7: Track Status in Real Time
Once the document is sent, QuickSign continues working for you with robust real-time tracking—something that modern e-signature solutions highlight as essential for keeping business moving and ensuring accountability.(business.adobe.com)
-
Go to your QuickSign dashboard and open the “Documents” or “Sent” tab.
-
Each document shows its current status, such as:
- Sent – Awaiting signatures.
- Viewed – Recipient has opened the document.
- Partially signed – One of multiple signers has signed.
- Completed – All required signatures obtained.
-
Click a document to see a timeline or activity log showing when each recipient viewed and signed.
-
If someone hasn’t signed yet, click “Send Reminder” to nudge them with a follow-up email.
Pro tip: Use QuickSign’s real-time tracking to proactively follow up with clients. Instead of asking, “Did you see the contract?” you’ll know exactly when they opened it and can follow up with specific context.
Best Practices to Keep Your Online Signatures Professional and Compliant
While platforms like QuickSign are designed to support legal and secure e-signatures, there are workflow practices you should follow to protect your business.
1. Clearly Capture Intent and Consent
- Ensure your recipients understand that by clicking “Sign” or “Finish,” they’re providing a legally binding electronic signature under applicable law (ESIGN, UETA, or eIDAS, depending on jurisdiction).(en.wikipedia.org)
- Include a short statement in your email message or in the document itself confirming that electronic signatures are acceptable.
2. Avoid Editing Signed PDFs
Modifying a PDF after it’s been signed can invalidate digital signature validation and raise questions about document integrity. Security discussions in the cybersecurity community point out that even simple annotations on an already-signed PDF can break cryptographic proof of authenticity.(reddit.com)
- Make all necessary edits before sending for signature.
- If changes are required after signing, generate a new version and resend for signatures.
3. Use Centralized Storage and Audit Trails
- Store your completed, signed documents within QuickSign so they remain tied to their full activity history and timestamps.
- Export or back up important agreements to your document management or CRM systems as needed.
4. Standardize with AI-Generated Templates
- Use QuickSign’s AI Document Generation to create standard templates (NDAs, MSAs, SOWs) so your team isn’t reinventing the wheel for each deal.
- Consistency reduces errors and ensures your preferred legal language is always used.
Video Walkthroughs for Visual Learners
If you like to see the process visually, these videos illustrate how to insert a signature into a PDF. While they aren’t specific to QuickSign, the concepts—placing signature fields, drawing or typing a signature, and saving the document—map closely to how QuickSign.it works.
Once you understand the visual flow from these videos, you’ll find that QuickSign’s interface feels familiar—but with the added advantages of AI document generation, real-time tracking, and flat-rate pricing for your whole team.
Real-World QuickSign Workflow Example
Imagine you’re a small B2B consultancy signing a new client for a 6‑month project:
-
You log into QuickSign.it and click “Generate Document.”
-
You describe the agreement: scope, monthly retainer, payment terms, confidentiality, and IP ownership. QuickSign’s AI generates a draft contract.
-
You quickly edit a few clauses, then click “Save & Prepare for Signing.”
-
Using drag-and-drop, you place signature and date fields for both you and the client, plus initials on key pages.
-
You add recipients (yourself and the client contact), set the client to sign first, and hit “Send for Signature.”
-
Within minutes, you see in QuickSign’s real-time tracking that the client has opened the document. An hour later, you get an alert that they’ve signed.
-
You sign your portion, and QuickSign automatically finalizes and stores the fully executed agreement in your account. Both parties receive a completed PDF copy.
From draft to fully signed contract, the entire process takes less than an afternoon—with almost no manual formatting or back-and-forth.
Quick Summary: How to Sign a PDF Online with QuickSign
- Step 1: Create your free account at QuickSign.it.
- Step 2: Either upload an existing PDF or use “Generate Document” to create a contract, NDA, or agreement with AI.
- Step 3: Use drag-and-drop fields to place signatures, dates, initials, and text boxes exactly where needed.
- Step 4: Add recipients, configure the signing order, and include a brief message.
- Step 5: Click “Send for Signature” to email a secure link to all signers.
- Step 6: Recipients review the PDF in their browser, draw or type their signature, complete required fields, and click “Finish.”
- Step 7: Monitor progress with real-time tracking, send reminders, and download or store the completed, signed PDF.
Online PDF signing doesn’t need to be complex or expensive. With QuickSign, you get AI-powered document generation, intuitive drag-and-drop field placement, seamless sending, and real-time tracking—plus affordable flat-rate pricing that scales with your entire team.
Ready to simplify your document signing? Try QuickSign for free - generate 2 documents and send 1 document to unlimited recipients at no cost. No credit card required.